
Don't worry. Although you may not realize it yet, sometimes breaking a window is a good thing! (I wouldn't recommend telling your kids that.)
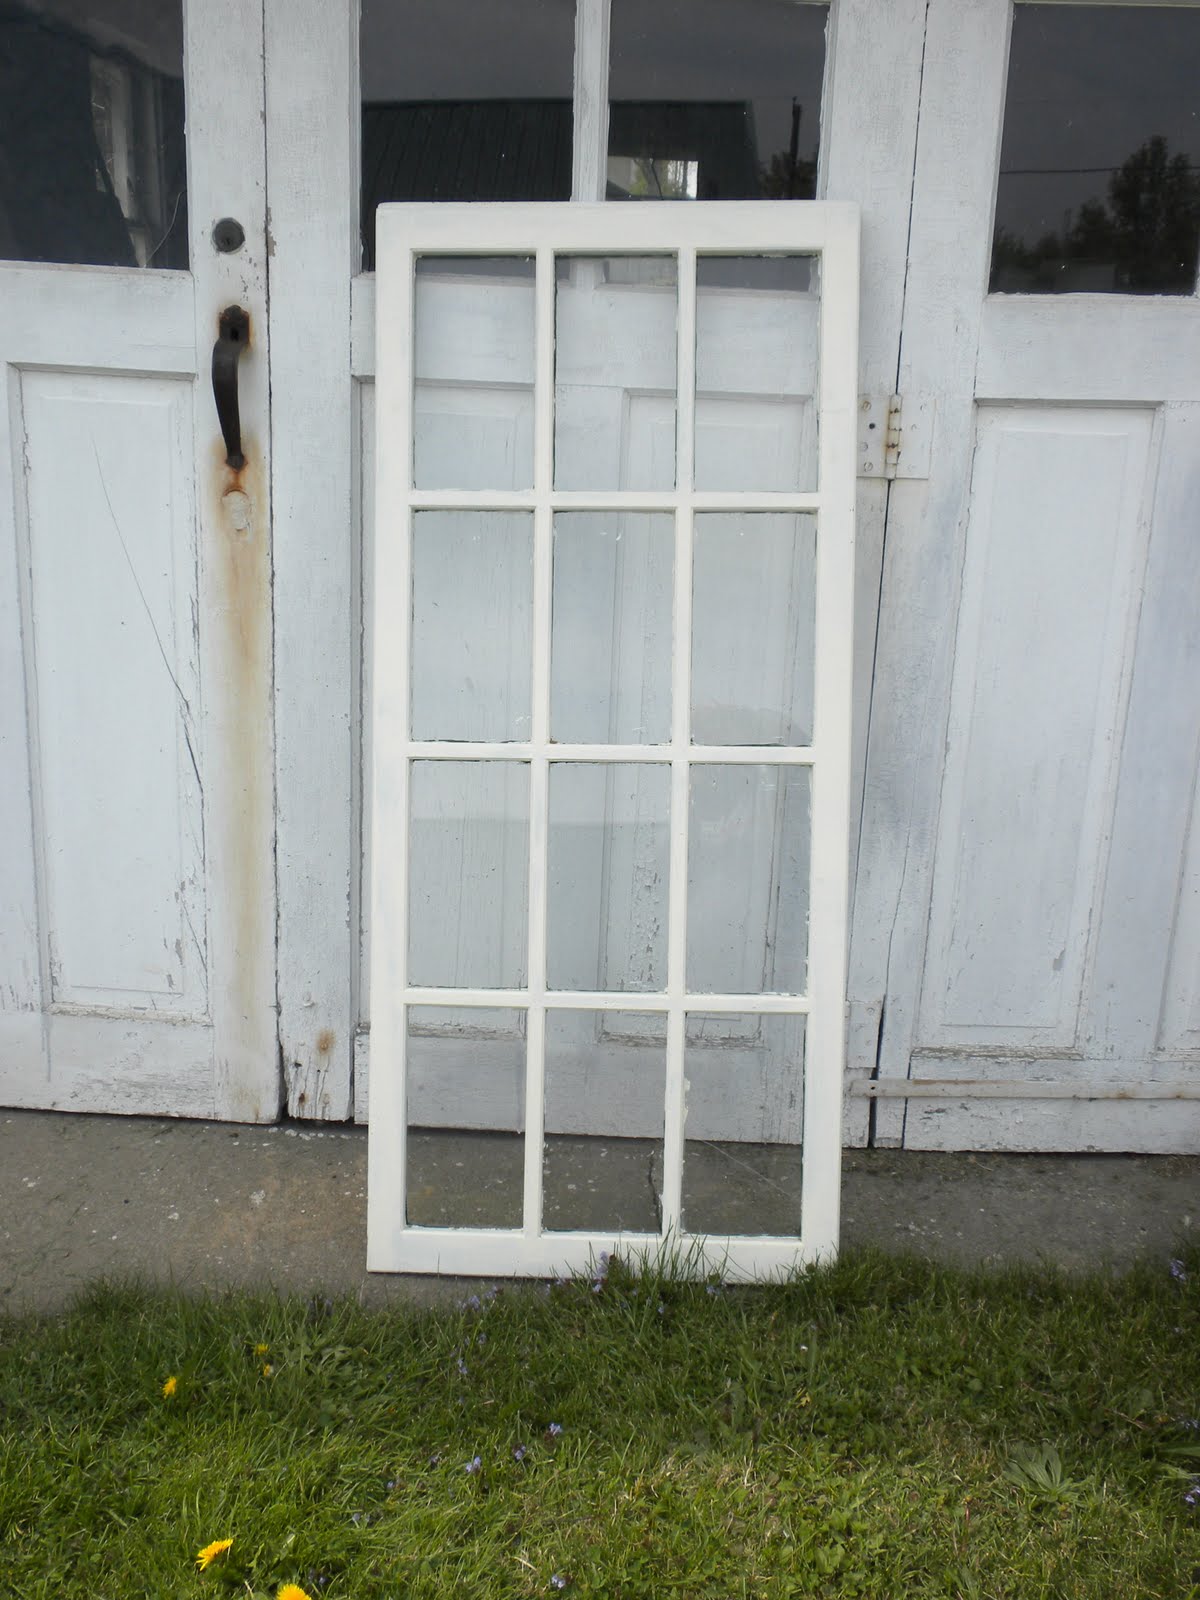
I've had a project idea in my head for some time now (If you know me, you know that I have an average of about 1.25 million project ideas in my head at any given time) for an old window I had in our shed. I will start by saying that we have been working on remodeling our dining room (as many of you already know) and there is 1 window in there. It's kind of a focal point in the room/house but there's a small..... well maybe not so small problem. It's a VERY old window that is not very attractive and doesn't open. (Is it still a window if it doesn't open?) So needless to say, I wanted to dress it up a bit. SO enter the old window in the shed. Unlike our dining room window this one has panes, character, and is not ugly. (or at least I don't think so. :) So I thought 'why don't I hang this window in front of the ugly window?' hmmm.......
After some measurements I decided that the project was a go! The color wasn't quite right. It started out a hunter green (sorry didn't get a pic before I painted! sometimes I just get a little too excited!) so I painted over it w/ a cream color. Anyway, enough w/ the neverending story. Here are some pics.........
Let's take an adventure. Off we go to my shed of treasures!

Ok...... well they're treasures to me anyway. My husband would call this stuff junk. To each his own I guess. :)


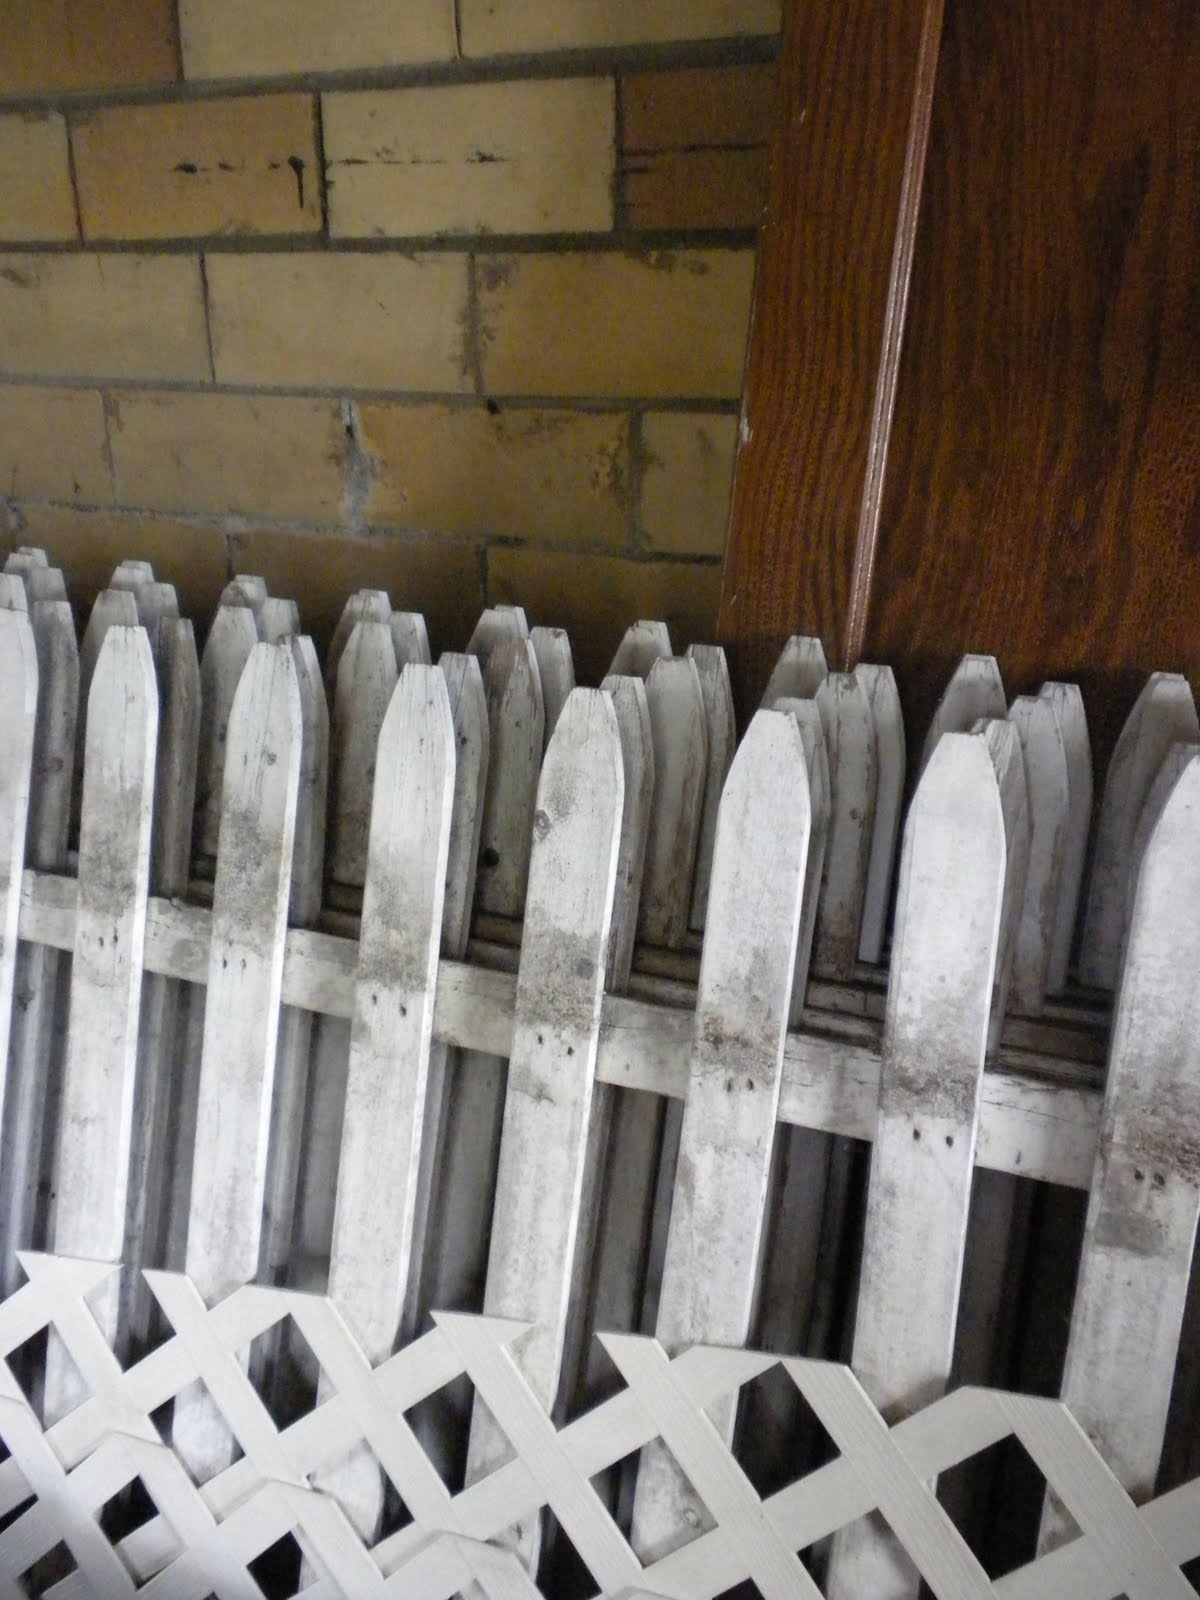
A close up of some of my "someday projects." I just love that old frame and the old rusty wire fence.....


My picket fence panels. Picked these up at a local antique mall. Still deciding where exactly I want to put them.

And there she be! My cute little window! All the way in the back of course. :)

So after digging it out here is the window after it's paint job but before some other modifications. Modifications you ask? Well this window was pretty darn heavy due to all those glass panes. Plus, having a little one running around and one on the way. I didn't feel too safe about hanging this window inside with all that glass in it. This is an old window remember and that glass just shatters! It already had several cracks. The mom in me just didn't feel good about it. So.........


One pane down 11 to go!


After the glass was broken I had to go around all the edges and remove the old glue stuff that held the glass in. Some of the pieces of glass wouldn't come out until the glue was removed.


Lots of glass! After all the glass and glue was removed I took a sanding block and sanded all the edges to make them smooth and kid friendly.

So here's the window after all the glass was taken out.

I antiqued the window a little bit more to add some vintage charm.


Using my secret weapon to make the edges stand out - my brown ink pad.


I added some metal "eye screws" (probably not the technical term.) So that I can hang it.


So that's where I'm at with the project right now. Keep watching for the big reveal. I need to get my chain to hang it shortened and buy a couple more pieces. Can't wait to finish it!


